Practical Ways to Install Floating Shelves in Small Spaces

Why most people fail at floating shelf installation
Most people think that installing floating shelves is just a matter of screwing a bracket into a wall and sliding a board on top. They assume it's a simple weekend project that any drill can handle. However, the real issue isn't the shelf itself—it's the weight-bearing capacity and the structural integrity of your wall. In a tiny home or a small apartment, you don't have the luxury of wasted wall space. If your shelves sag or, worse, pull out of the drywall, you've lost more than just a pretty decoration; you've lost functional storage. This guide covers the actual mechanics of installing shelves that stay level and hold their weight without constant maintenance.
A common mistake is ignoring what's behind the surface. If you're mounting into drywall, you're essentially relying on friction and a bit of gypsum. If you're mounting into a stud, you're anchoring to the skeleton of the house. Knowing the difference determines whether your spice rack stays upright or ends up on your kitchen floor. We'll look at the tools, the structural requirements, and the steps to get a clean, professional finish.
Can I install floating shelves in drywall without studs?
You can, but you shouldn't rely on standard plastic anchors for anything heavy. If you can't find a stud, you must use heavy-duty toggle bolts. Unlike standard screw-in anchors, toggle bolts expand behind the wall, creating a much wider surface area to distribute weight. This is vital when you're adding books or heavy kitchen appliances to a shelf. If you want to see more about building codes and structural safety, the International Code Council provides extensive resources on construction standards that apply to even the smallest dwellings.
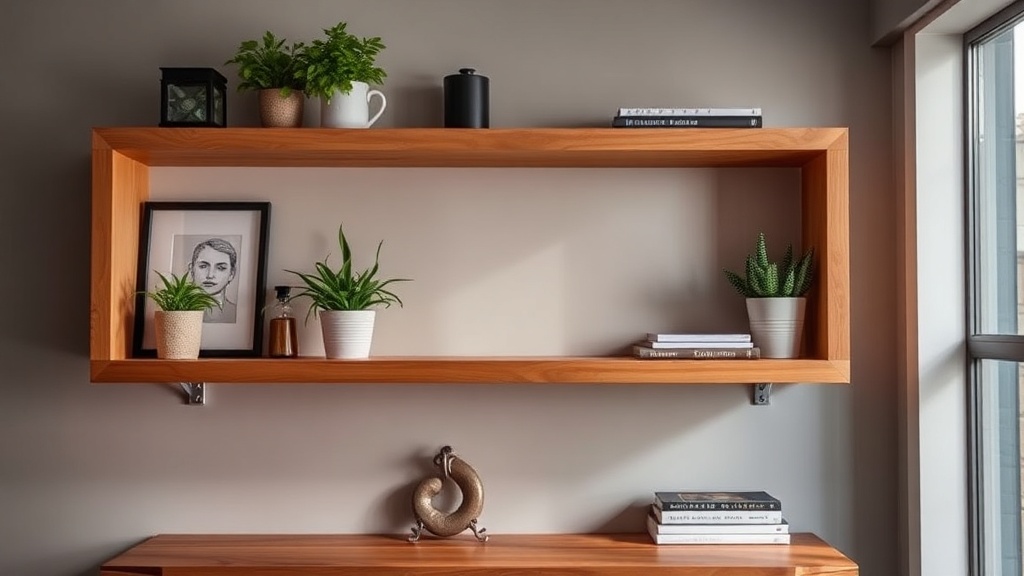
When you're working in a small space, every inch counts. A floating shelf provides a place for items without the visual bulk of a traditional bracket. But if you're mounting into just drywall, you're essentially building a house of cards. Always try to find a stud first. Use a high-quality stud finder—not the cheap magnetic kind—to ensure you aren't getting a false positive from a nearby wire or pipe. A mistake here can lead to a very expensive repair.
How do I choose the right shelf material for small rooms?
The material you choose affects both the weight and the aesthetic of your room. In a tiny home, heavy wood can make a room feel cramped and dark. Lighter woods or even metal-based shelving can keep things feeling airy. Consider the following- weight vs. durability:
- Solid Hardwood: Durable and beautiful, but very heavy. Requires heavy-duty mounting hardware.
- Softwood (Pine/Cedar): Lighter and easier to work with, but can dent easily.
- MDF or Plywood: Budget-friendly and easy to paint, but can sag over time if not supported correctly.
- Metal/Industrial: Great for a modern look, but harder to customize on the fly.
If you're looking for inspiration on interior design styles that suit small footprints, checking out Architectural Digest can give you ideas on how different materials change the perception of space. A heavy oak shelf might look great, but if it's too big for your wall, it will make your small kitchen feel even smaller.
What tools are needed for a professional installation?
To get that seamless, "floating" look, you need more than just a hammer. You need precision. If the shelf is even a fraction of an inch off-level, it will look amateur and eventually cause your items to slide. Here is your basic checklist:
- Level: A spirit level or a digital level is non-negotiable.
- Drill and Drill Bits: You'll need bits specifically for your wall type (wood vs. masonry).
- Stud Finder: To locate the structural supports.
- Measuring Tape: For precision placement.
- Pencil: To mark your holes accurately.
- Wall Anchors/Toggle Bolts: Depending on your mounting situation.
Once you have your marks, start by drilling the pilot holes. If you're using a floating shelf kit, the bracket is usually the most important part. It's a metal rod or a bracket that sits inside the shelf. If the hole in the shelf is even a millimeter too large, the shelf will wobble. This is where the precision of your drill comes into play. Don't rush this step. It's better to spend twenty minutes measuring than two hours fixing a crooked shelf.
How do I prevent my floating shelves from sagging?
Sagging is the death of a good shelf. It usually happens because of one of two things: insufficient support or overloading. If you've mounted your shelf into drywall without hitting a stud, the weight of the shelf itself—plus whatever you put on it—will eventually pull the anchors out. Even with toggle bolts, there is a limit. For long spans, you absolutely must hit a stud or a structural member.
If you're using a single long shelf, it's tempting to skip the middle support. Don't do it. A shelf that spans more than 30 inches without a center support is likely to bow in the middle over time. If you're in a tiny home, you might not have the space for a traditional bracket, but a well-designed internal bracket system can handle much more. Always calculate your weight limit before you start stacking your coffee mugs or books. It's much easier to plan for weight than to deal with a broken shelf and a mess on your floor later.